guest post: Terrarium Tutorial!
Today's post comes from the wonderful Julie of the blog Yonder. She put together this absolutely lovely and easy-to-follow terrarium tutorial. She also included a coupon code for her shop! Check it out! (And while you're at it, check out my guest post/giveaway on her blog here.)
So I realize that I might just be the last person in the free world to make a terrarium, but upon investigation, I found that the internet is in dire need of pretty, easy to follow instructions. So, here I am. I know that terrariums were the new, cool thing to make in 2010, but please find it in your hearts to forgive my tardiness....I had a busy year. My friend Sarah and I (apparently she'd had a busy year too) sat down last week to make terrariums and I was very surprised at how quickly I was done!
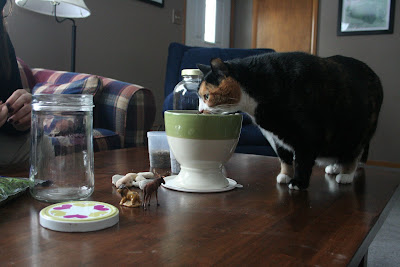
The first thing you'll want to do is gather your supplies. I used a lot of things I had on hand at the house, making this a very inexpensive project (I think I spent $4.99 total!). You will need:
-a jar which you can easily fit your hand into
-some gravel or small rocks (I used some from our front yard)
-some dirt (I just happened to have a pot full from a failed succulent attempt)
-some preserved moss. make sure you don't get DRIED moss. preserved moss still has some moisture left in it so it will keep growing once placed into the environment. I found some at my local craft store.
-some figurines, if you so desire, for decoration. I also used some larger river rocks as accents

After you've compiled your goods, you're set! It's smooth sailing from here on out. First, make sure your jar is clean and DRY! Place a layer of gravel into the bottom of the jar. It doesn't have to be a lot, just enough to help the soil drain.

Then, add some dirt. The size of your jar will determine how much you put in. My jar was of a good size, so I added quite a bit. If you are using a jelly jar or something in the miniature size range, you will use much less of course.

Then, you add the moss. You can add as much or as little moss as your heart desires. Sarah tried to make a "mossy hill" in her jar, I just tried to go for coverage. You will break the moss into small patches and then push it down onto the dirt. Feel free to overlap your patches of moss to get the look you want.

Now, you can decorate your terrarium however you'd like! I had a moose lying around and Sarah had some bunnies and a butterfly she decided to use. I've seen everything from mushrooms and small houses to cute little gnomes and animals! The sky's the limit!


Sarah also taped some string to the underside of her lid to get this butterfly to "fly" inside her jar. Use your imagination!

And now you're done!! I put a little water in mine after assembling it, mainly because the dirt was so dry. I would recommend using a little water just so that your moss will come back to life. Then, display your terrarium in a place that gets good natural light!

And just for making it to the end of my tutorial, I'm giving you a special treat! You can stop by my etsy shop until January 22nd and receive 20% off any of my vintage items if you enter the code: AWILDSALE Don't forget to enter the code during checkout!
I hope you all have a lovely day and enjoy your terrariums!
xo,
julie


omg cute! must try this!
ReplyDelete